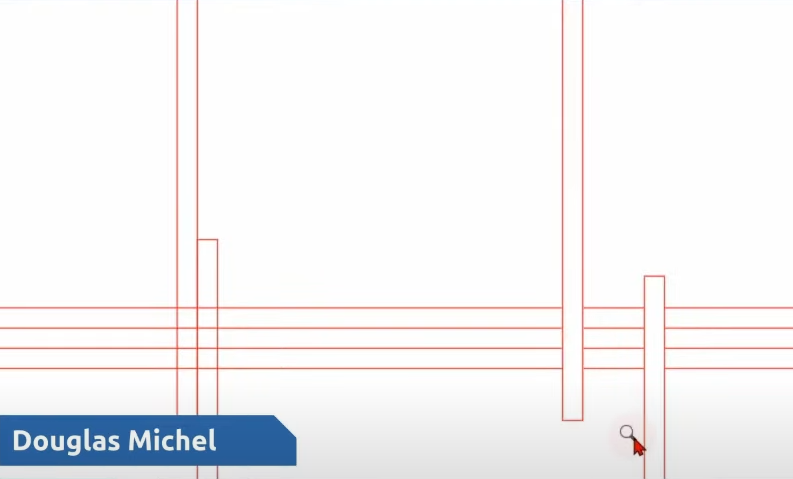
Hey there! Welcome to my website post. Today, I want to share with you a helpful solution that I discussed in one of our YouTube or Facebook videos. Here, I aim to assist you in becoming more efficient and saving time in AutoCAD. Today’s question comes from our friend, Douglas, who asked if there’s a way to draw a solid filled rectangle or any closed shape in AutoCAD that can hide items behind it.
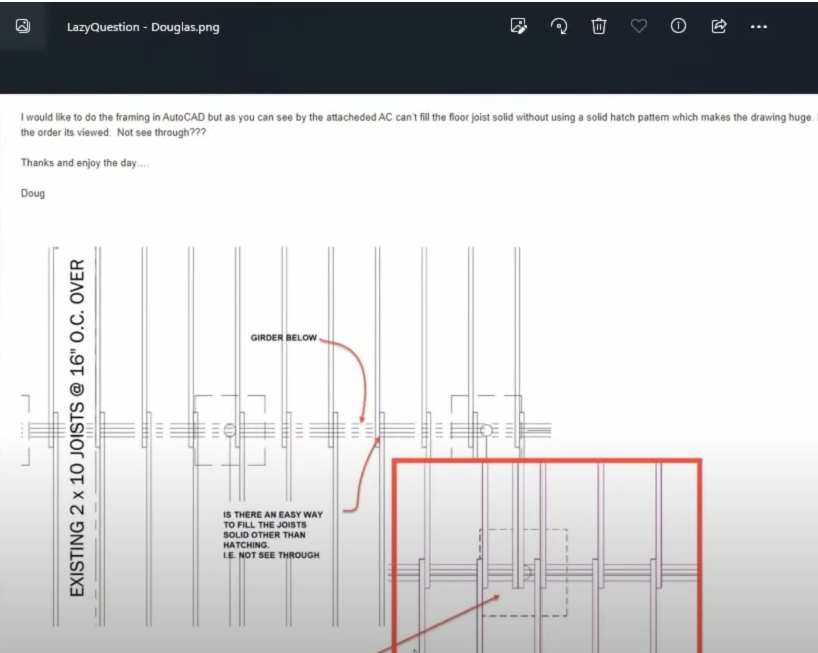
To address Glass’s query, I created a quick simulation based on the diagram provided. The goal is to automate the process of creating solid-filled rectangles instead of manually hatching each one. Here’s how you can achieve it:
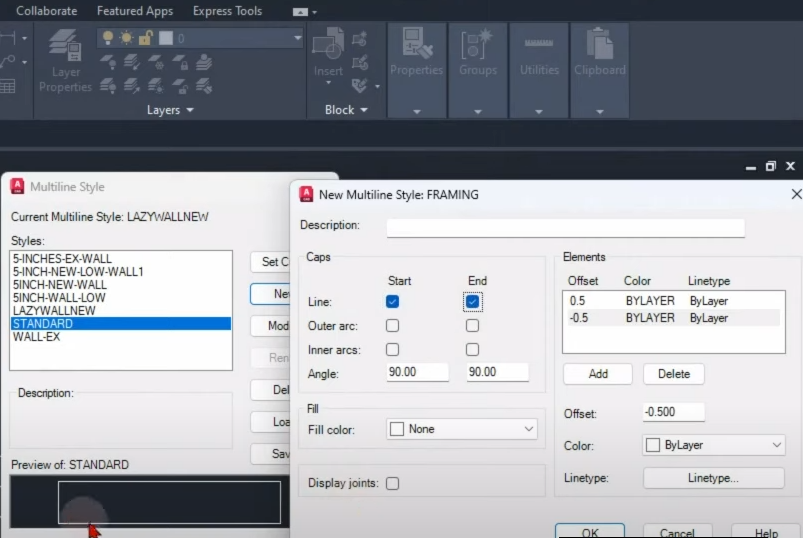
Step 1: Creating a Multi-line Style
To begin, we’ll create a new multi-line style. Open the multi-line style dialog box and select “New” to create a style specifically for Glass’s requirement. Let’s name it “Framing” for this example. We can adjust the size and other parameters later. Ensure that the top line is 0.5 and the bottom line is -0.5, making the framing one inch thick. We want the multi-line to close on both ends, so enable the “Closed” option. Feel free to add a description if you like. Once you’re done, make the style current.
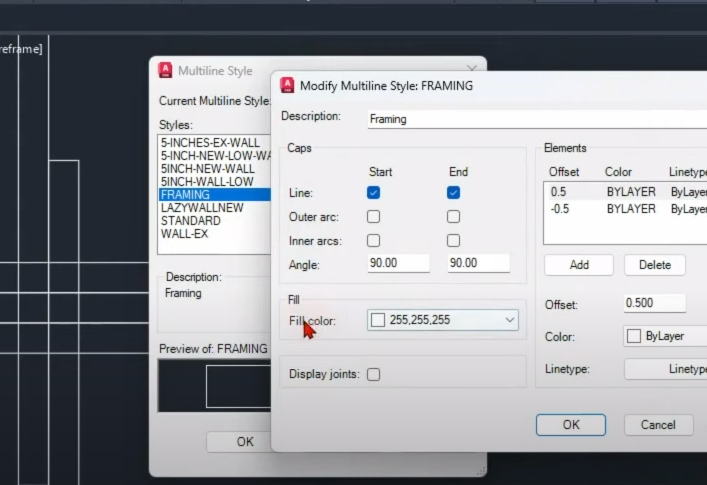
Step 2: Adding a Solid Fill
Next, we need to modify the framing multi-line style to include a solid fill that can hide objects behind it. In the multi-line style dialog box, find the “Fill Color” option. Choose a color for the fill, such as white, to simulate a solid mask. You can use the true color or select white from the index color options. Save the changes and set the modified style as current.
Step 3: Testing the Command
Now, let’s test the command we created. We’ll use the tool palette, which everyone has access to. To add it, simply drag a rectangle (or any other shape) to the tool palette. Right-click on the shape, choose “Properties,” and name the new tool “Framing.” We need to modify the command macro string for this tool. Replace the existing string with the following code:
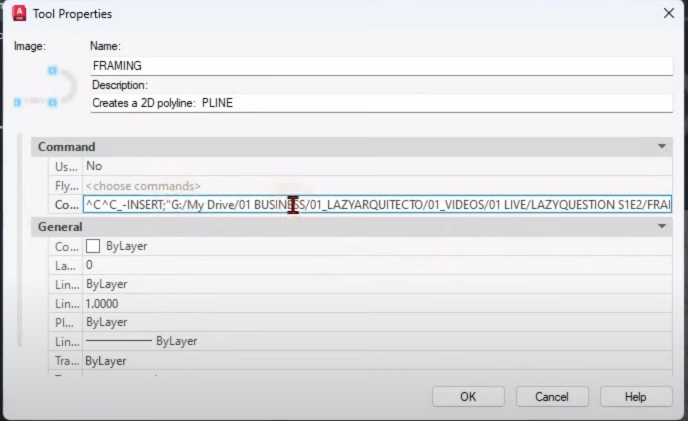

Remember to replace path_to_your_drawing_file.dwg with the actual path where you saved your drawing containing the new multi-line style. This code sets the layer, color, and activates the multi-line command with the specified style and scale.
Once you’ve added the code, you can save and close the properties dialog. The framing tool is now ready for use.
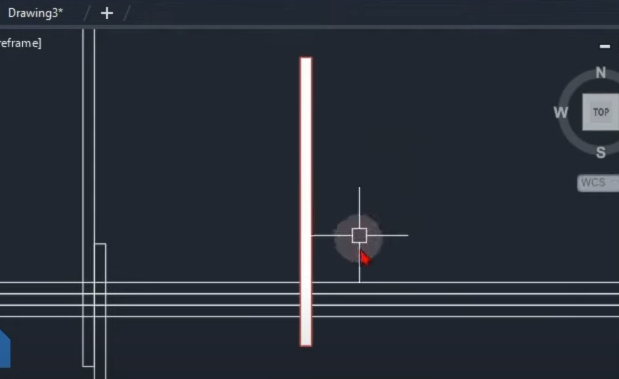
To test it, open a new drawing or an existing one. If you try using the regular multi-line command, you’ll notice that the framing style doesn’t appear. However, if you select the framing tool from the tool palette, you’ll see that it automatically applies the framing style and hides any objects behind it.
This solution provides a convenient way to create solid-filled rectangles or closed shapes in AutoCAD, saving you time and effort. You can easily access the framing tool on any drawing, allowing for consistent usage and improved efficiency.
I hope this solution simplifies your workflow in AutoCAD, whether you’re Douglas or any of our viewers. Feel free to leave any further questions or feedback in the comments section. Happy CADing!
Useful links:
Watch this week’s video
Join our CAD meetings by becoming a YT member
Download my LazyBlocks, macros, and materials used in tutorials on Patreon-feed