Hi there! I wanted to share my experience working with a client who needed to add a three-compartment sink to their floor plan. The client had to manually rotate the sink and align it with the wall, which was time-consuming and inefficient. In this post, I’ll show you how I helped my client create a useful Dynamic block that simplified the process. Let’s get started!
Step 1: Preparing the Block
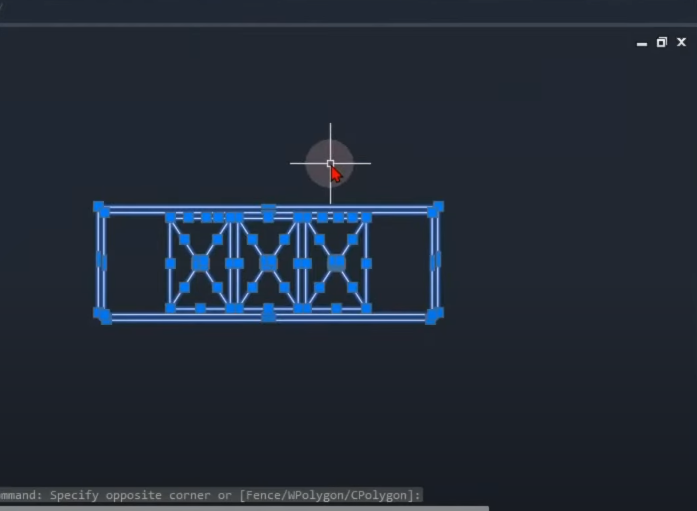
First, I rotated the block to the desired orientation and exploded it to start from scratch. I ensured that all the items were on the appropriate layer and had the correct properties. This was important to avoid any future problems.
Step 2: Determining Standard Size
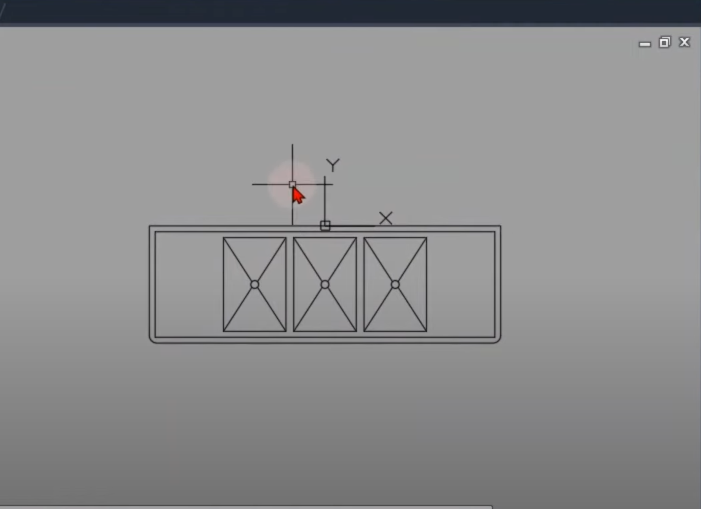
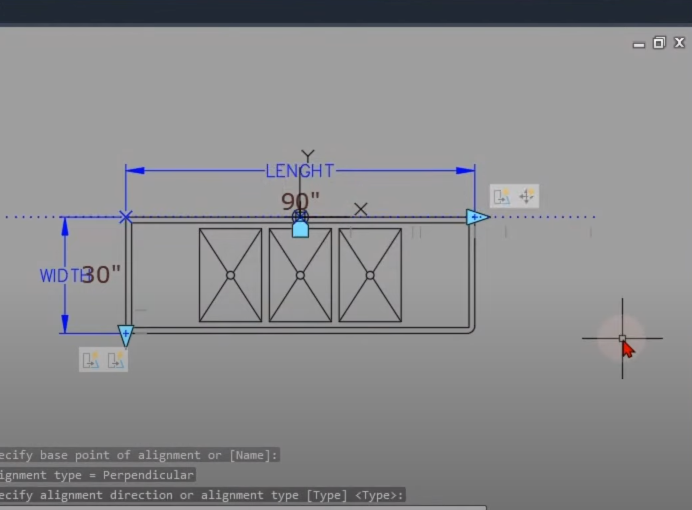
To begin creating the Dynamic block, I asked my client about the most commonly used size for the three-compartment sink. The client mentioned a size of 90 inches (7 feet 6 inches). Using this information, I stretched the sink to the desired length, ensuring that the three central bolts were positioned correctly.
Step 3: Converting to a Static Block
Once the sink was in the desired size and position, I converted it into a static block using the block command. I renamed the block as “The Lazy 3-Comp Sink” and opened it in the Block editor.
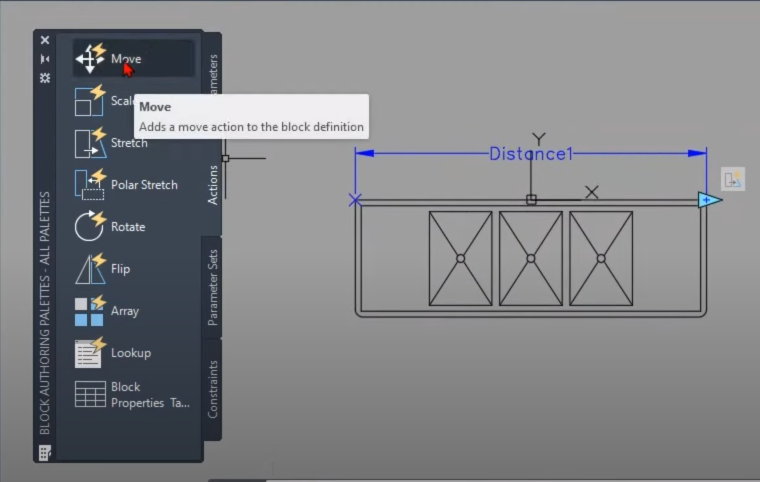
Step 4: Adding Actions and Parameters
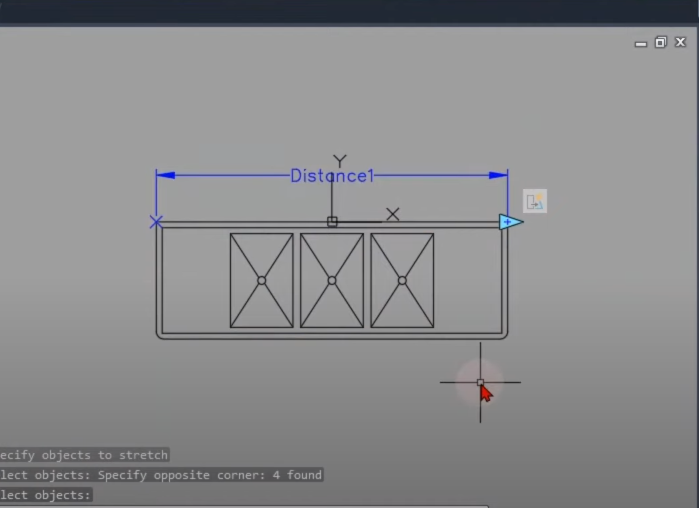
Inside the Block editor, I added actions and parameters to make the block dynamic. The first action I added was a linear parameter for stretching the sink. This allowed the client to adjust the length of the sink easily by dragging the grip. To ensure proper functionality, I associated the parameter with the appropriate points and set the stretch frame.
Step 5: Testing and Refining the Block
After adding the linear parameter, I tested the block to ensure it was working correctly. I discovered that the base point and central bolts were not moving correctly. To fix this, I added a move action to adjust their positions.
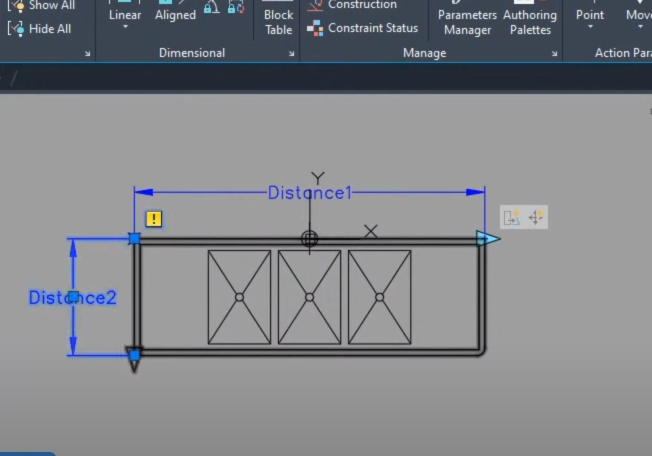
Step 6: Enhancing the Block
To further improve the block, I introduced another linear parameter for adjusting the width of the sink. I followed the same steps as before, adding the parameter, associating it with the appropriate points, and setting the stretch frame.
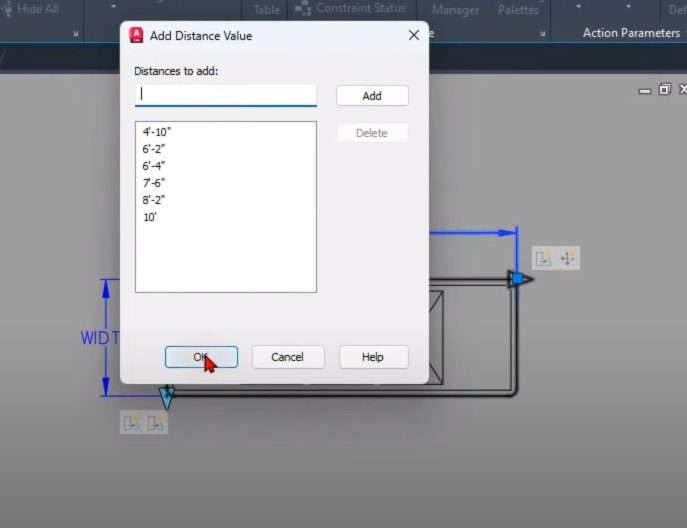
Step 7: Implementing Standard Sizes
Since randomly sized sinks were not practical, I researched and found standard sizes for three-compartment sinks. I incorporated these sizes into the block by setting the length and width parameters to predefined values. This ensured that the sink could only be stretched to these standard sizes, providing consistency and convenience.
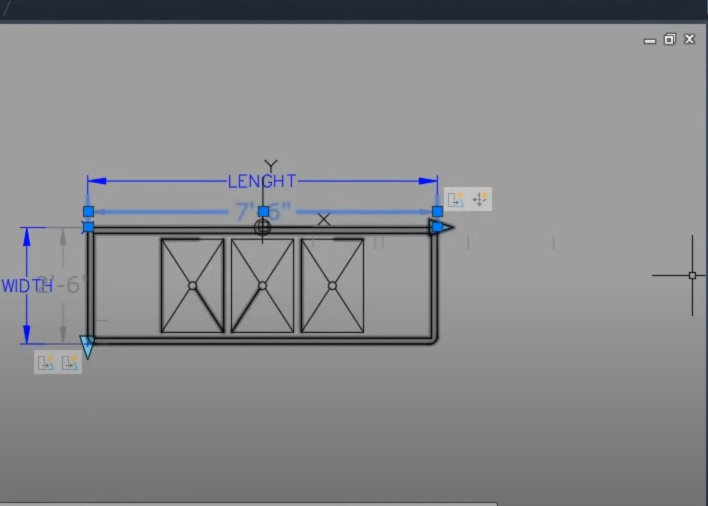
Step 8: Adding a Size Label
To make it easier for the client to identify the size of the sink, I added a size label using dimensions. I placed dimensions for length and width and adjusted their properties to display the size in inches only. The label dynamically updated as the sink was stretched or modified.
Step 9: Alignment Parameter
To eliminate the need for manual alignment, I introduced an alignment parameter. This allowed the client to align the sink easily with the wall by dragging the alignment grip. I ensured that the alignment parameter stayed centered by including it in the move action.
Step 10: Final Testing and Implementation
After completing the block modifications, I performed a final test to ensure that everything was functioning correctly. Once satisfied, I closed the Block editor and saved the changes. The client could now access the Dynamic block from their tool palette and quickly place sinks of various sizes and orientations on their floor plan.
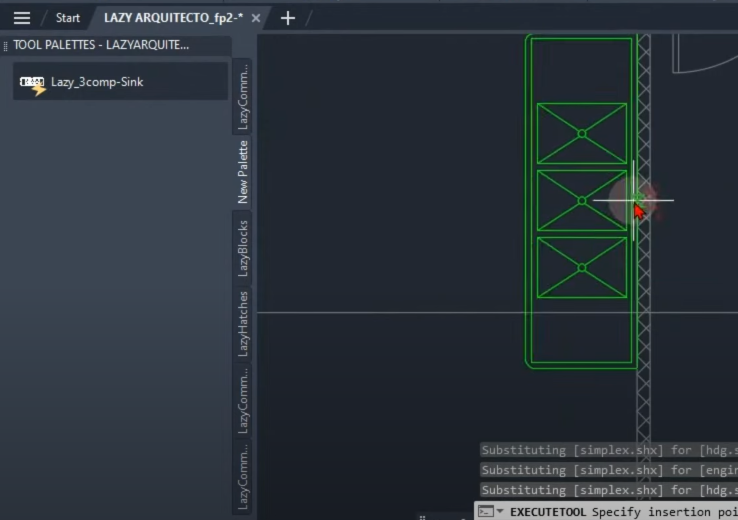
By creating a Dynamic block for the three-compartment sink, I provided my client with a practical solution for adding sinks to their floor plan. The block allowed them to easily adjust the sink’s size, align it with the wall, and view its dimensions. It significantly improved their workflow and saved valuable time. If you’re facing similar challenges, consider implementing Dynamic blocks in your designs for greater efficiency and flexibility.
Useful Links:
Watch this week’s video
Join our CAD meetings by becoming a YT member
Download my LazyBlocks, macros, and materials used in tutorials on Patreon-feed